tag: how-to
– fried squash blossom –
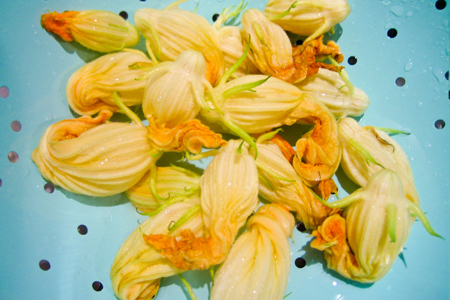
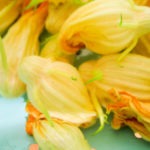
we recently made some fried squash blossoms from our garden that were delicious! we were getting frustrated over the amount of flowers falling off our plants but it turns out they were male flowers that don’t grow fruit. gub remembered having fried squash blossoms in italy so we found a recipe and did some frying.
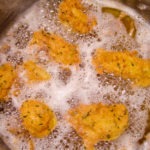
to make these tasty treats, first gather and clean some squash flowers. next dip the flowers in egg and batter before frying them up in some oil at medium heat. it’s the same as frying anything, you’ll just want to use a light batter since the flowers are so delicate. we went with corn meal and loved it!
– ryan & gub
fried squash blossom recipe:
ingredients:
fresh squash flowers
whipped cream cheese for stuffing (if desired)
egg wash:
2 eggs, beaten
1/3 cup milk
batter:
1/2 cup corn meal
1/2 tsp salt
1/2 tsp garlic powder
1/2 tsp onion powder
1 tsp parsley
directions:
– clean squash flowers
– stuff squash flowers with a little whipped cream cheese if desired
– heat oil in a frying pan at medium heat
– dip squash flowers into egg wash and then batter
– gently place battered squash flowers in frying pan and fry until golden brown
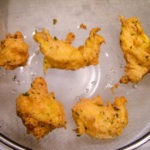
– place fried flowers on splatter guard to let cool and drain the excess oil
– serve hot
 |
| |
 |
date of post: June 15th, 2010 | category: cooking, food, garden, handmade, how-to, recipe, spring
tags: cooking, food, garden, handmade, how-to, photography, recipe, ryan & gub, spring
comments: 6
– hydrangea tips –
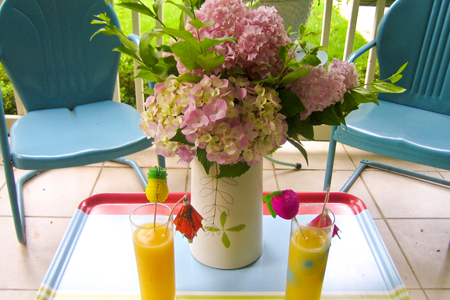
with our hydrangeas in full bloom, we’ve been keeping fresh flowers throughout the house. the problem is our cut flowers kept wilting after only a few hours, which was very frustrating. we decided to look for a remedy and take action.
here’s what we found worked best for keeping hydrangeas fresh after cutting them from a garden. first, cut the flowers in the early morning when the weather is cool, not in the afternoon heat. be sure to bring a pitcher or bucket of water and place the flowers in the water right after cutting. when ready to arrange, cut the stems at an angle under cold tap water and dip the flower tips into a bottle of alum powder, found in the spice section of most grocery stores. after dipping, place the flowers in a vase filled with water. that’s it.
we’ve used this method numerous times now and it totally works! it’s impressive how much longer our cut hydrangeas last.
– ryan & gub
 |
| |
 |
date of post: June 10th, 2010 | category: flowers & trees, house, how-to, spring
tags: diy, flowers & trees, house, how-to, photography, ryan & gub, spring
comments: none
– grow gardens –
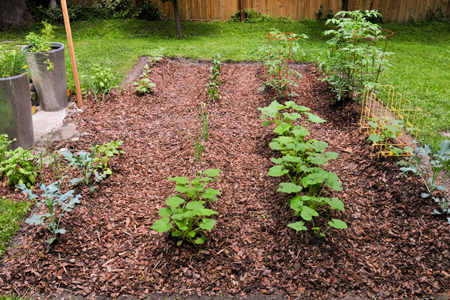
here is our garden at four weeks.
we planted our cute little garden on the 15th of april, here’s what we are growing:
|
|
|
|

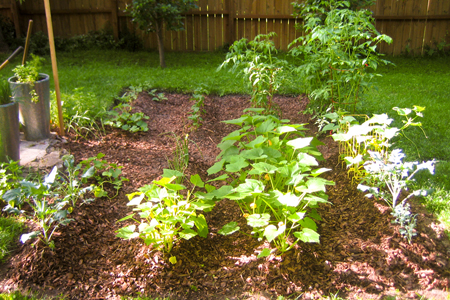
here is our garden at six weeks.
we ended up losing our one artichoke plant early on and replaced it with another much younger tomato plant to try and stagger the tomato harvest a bit.

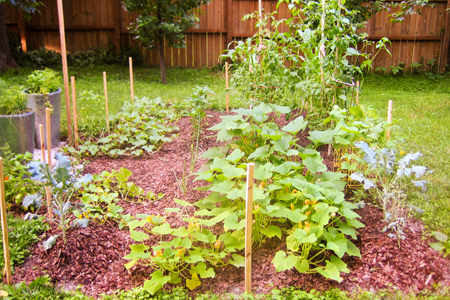
here is our garden at seven weeks.
everything is thriving pretty well, although something pesky keeps biting off our squash blossoms. they aren’t even eating them, just leaving them on the ground. which is even more annoying. we are working on fencing in the garden and bought some organic insecticide as well, so hopefully we’ll get that under control soon.
– ryan & gub

date of post: June 8th, 2010 | category: garden, house, how-to, photography, spring
tags: garden, house, how-to, photography, ryan & gub, spring
comments: none
– till me a garden –
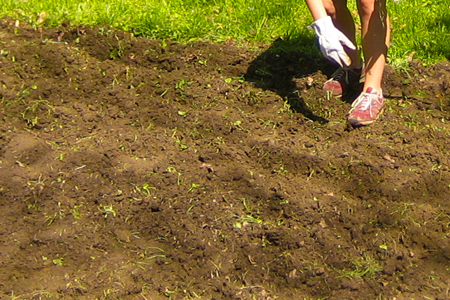
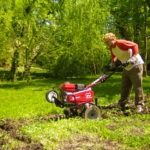
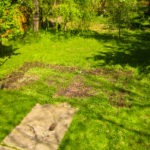
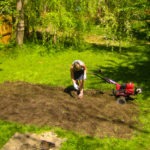
we recently tilled our garden! we rented a tiller from home depot for 4 hours, which was super easy, and got our backyard ready for spring planting. our garden plans are moving along and we hope to finish planting this week.
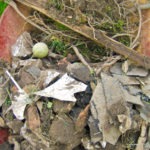
we realized our backyard was full of tons of random debris while tilling. we found rusty nails, roofing tiles, concrete, bricks, tools, and lots of other junk.
– ryan & gub
 |
| |
 |
date of post: April 17th, 2010 | category: garden, house, how-to, spring
tags: diy, fun, garden, house, how-to, ryan & gub, spring
comments: 1
– horseshoe pit makeover –
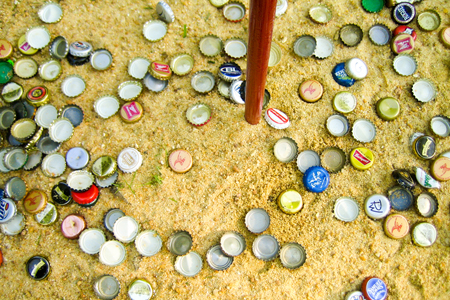
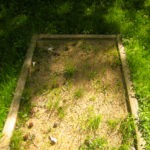
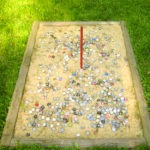
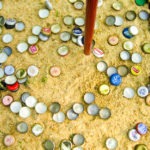
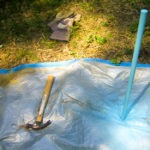
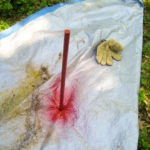
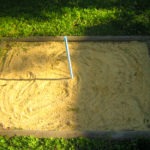
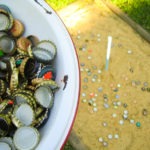
we noticed our horseshoe pits were looking rough recently, so we decided to give them a face-lift. we started by getting rid of the weeds and adding more sand. that alone made a huge difference. then we spray painted the poles bright colors, we went with blue and red, and topped it all off by adding our bottle cap collection.
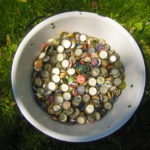
we’ve been saving bottle caps for years, although we never really found the right use for them. gub has fond memories of her grandparents general store where they threw caps from soda bottles out front for gravel. the rusty gravel must have made an impression on her, we’ve been saving bottle caps since i’ve known her.
we’re excited to find a new use for our bottle caps! it’s gratifying to reuse something that could easily be thrown away. we plan on filling our pits a good bit more, our collection seemed a lot bigger inside the house. we are going to ask our local bartender to save bottle caps for us to help the cause.
– ryan
 |
| |
 |
date of post: April 16th, 2010 | category: handmade, house, how-to, photography, reuse
tags: diy, fun, handmade, house, how-to, photography, reuse, ryan
comments: none
– happy easter –

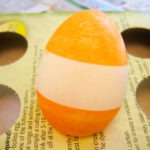
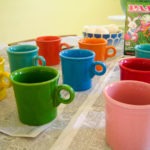
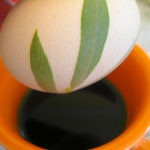
we celebrated easter by spending a fun morning drinking coffee and dyeing easter eggs in our new yellow kitchen. there will be a blog post on the kitchen re-do later, but here are the steps we took to create our colorful and recyclable eggs:
– hard boil eggs
– set up easter egg dye kit (we used a cheap grocery store paas kit)
– add stencils and resists to the eggs*
– stir dye bath and carefully place egg in the dye
– leave egg in the dye for 5 to 10 minutes (lighter colors take longer)
– remove from dye and remove stencil or resist
– place eggs in basket or nest (we used shredded paper scraps for our grass!)
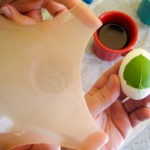
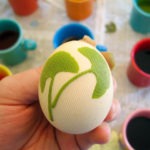
*we created leaf stencils by picking small leaves from our yard and placing them on the egg. we then tightly wrapped panty hose around the egg and secured with a rubber band. small, thin leaves with few veins work best for the stencils. we also used electrical tape to add stripes and lines to the eggs.
yay easter!
deviled eggs for dinner!
– ryan & gub
 |
| |
 |
date of post: April 4th, 2010 | category: design, events, handmade, how-to, photography
tags: design, diy, events, fun, handmade, how-to, photography, ryan & gub
comments: 1
– we’re planting a vegetable garden! –
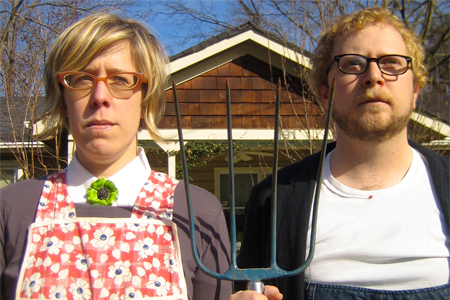
ryan and i are beginning to plan our very first vegetable and herb garden. we’ve been composting for over a year and have planted a few vegetables here and there, but this summer we’ve got big plans. we carved out a sunny 16′ by 10′ spot in the middle of our backyard, found some helpful info on the uga center for urban agriculture website, and we’re off!
we need to do a bit more research, come up with a planting schedule, and finalize our vegetable and herb list based on our garden space; but here’s our wish list:
|
|
|
|
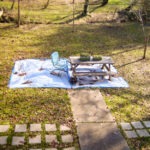
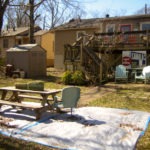
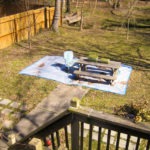
we took some before photos and will post updates as the summer progresses. the garden will be under the blue tarp you see in the photos.
– gub & ryan
 |
| |
 |
date of post: February 20th, 2010 | category: garden, house, how-to, photography, winter
tags: diy, garden, house, how-to, photography, ryan & gub, winter
comments: 6


