tag: diy
– nursery transformation: week six –
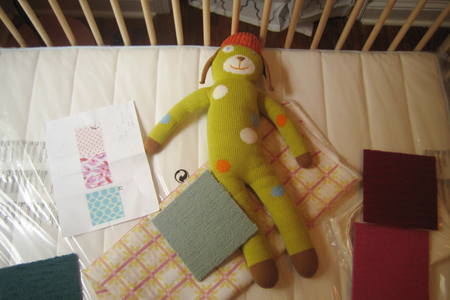
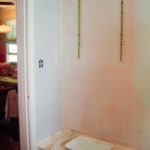
this was a particularly productive week, as we are rapidly approaching the due date with just nine weeks to go now. we said a sad goodbye to the green sectional sofa. hope it finds a happy new home via decatur estate. we selected a paint color and painted the nursery!!! special thanks to gub’s mom and stepdad who came in for the weekend to help make it all happen. the color is called ‘retiring blue’ and it’s perfect. seems more of a robin’s egg to us. very calming… we love it!
we also tackled a second kitchen project with the help of gub’s handy stepdad… update on the new kitchen bar and shelf coming soon…
– gub & ryan
check out our week 1, week 2, week 3, week 4 and week 5 nursery posts!
 |
| |
 |
date of post: April 3rd, 2011 | category: baby, design, house, how-to, nursery
tags: baby, design, diy, house, how-to, photography, ryan & gub
comments: 2
– nursery transformation: week five –
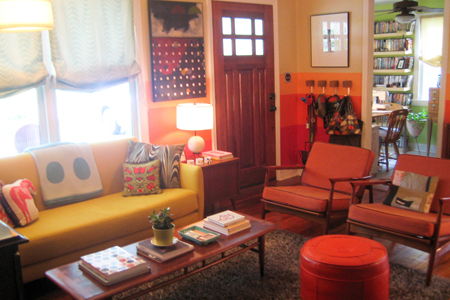
as mentioned before, the nursery transformation involved relocating ryan’s record collection to the living room. we also decided we’d like a sofa with arms that we could curl up and watch a movie on, so we ended up getting this bright yellow parlor sofa from cb2. we lucked out and were able to purchase a floor model at a great discount!
here are some images of our new cozy living room. visit the week 3 post in case you missed the before photos.
– gub & ryan
check out our week 1, week 2, week 3 and week 4 nursery posts!
 |
| |
 |
date of post: March 27th, 2011 | category: baby, design, house, how-to, nursery
tags: baby, design, diy, house, how-to, photography, ryan & gub
comments: 2
– nursery transformation: week four –
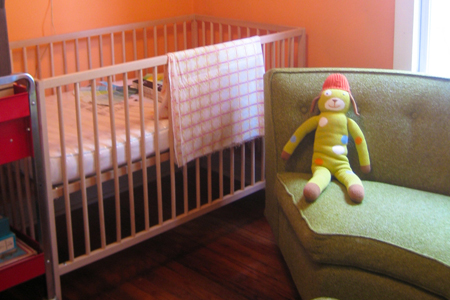
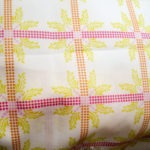
we assembled the crib, bought a mattress, and found a fun curtain panel to go over the closet door. next on the list: 1. make the new roman shade out of this fun fabric we found at whipstitch, 2. find a new home for the sectional sofa, 3. select a paint color & paint…
– gub & ryan
check out our week 1, week 2 and week 3 nursery posts!
 |
| |
 |
date of post: March 20th, 2011 | category: baby, design, house, how-to, nursery
tags: baby, design, diy, house, how-to, nursery, ryan & gub
comments: 3
– nursery transformation: week three –

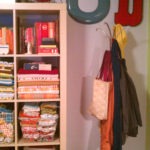
so, part of the nursery transformation project included relocating ryan’s rather extensive record collection from the old media room to the living room. the old media room shelves now house my fabric and we got a new ikea shelf for the records…
it’s musical chairs around here! we’ve included some “before” photos of the living room and will post updates on our progress.
– gub & ryan
check out our week 1 and week 2 nursery posts!
 |
| |
 |
date of post: March 13th, 2011 | category: baby, design, house, how-to, nursery
tags: baby, design, diy, house, how-to, nursery, photography, ryan & gub
comments: 5
– nursery transformation: week two –
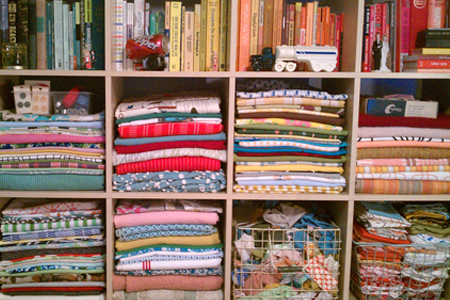
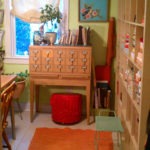
so far, we have moved the big worktable from the old office into its new home (hiding the flat file underneath), relocated gub’s fabric collection and moved the old card catalogue. we also set up ryan’s record collection in the living room.
getting the nursery emptied out was great! except we now have our prized 50s sectional sofa in there, which needs to be sold before we can paint. (anyone interested?) but we did buy some fabric to make a new shade for the window and we’re close to selecting a paint color.
– gub & ryan
check out our week 1 nursery post!
 |
| |
 |
date of post: March 6th, 2011 | category: baby, design, house, how-to, nursery
tags: baby, design, diy, house, how-to, nursery, photography, ryan & gub
comments: 4
– nursery transformation: week one – “before” –
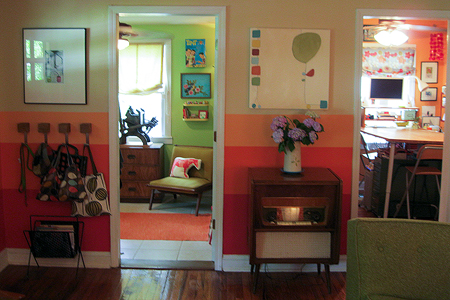
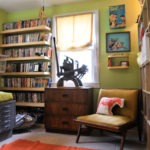
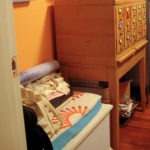
in order to make room for our expanding family, we are turning our old office / work room / studio into the new baby’s room. since both sets of grandparents live out of town, we opted to keep our only guest bedroom in tact so they can come visit. we are playing a bit of “musical rooms” and turning what we used to refer to as “the media room,” which houses our movies, ryan’s huge record collection, and our flat file into the new work room and studio. we are setting up ryan’s office in the guest bedroom.
here’s what everything looked like before this transformation began…
– gub & ryan
 |
| |
 |
date of post: February 27th, 2011 | category: baby, design, house, how-to, nursery
tags: baby, design, diy, house, how-to, nursery, photography, ryan & gub
comments: 11
– reuse your growlers –
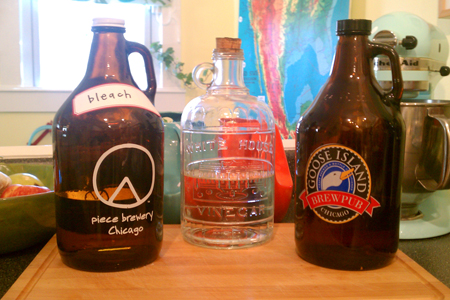
have any growlers from a brewpub or other large bottles sitting around your house? try filling them with various vinegars or cleaning products like bleach to get more use out of them! we had a few empty ones taking up space in our kitchen so we decided to find another purpose for these cool bottles. our growlers were just collecting dust anyways since georgia doesn’t allow brewpubs to refill them. lame.
– ryan & gub

date of post: February 6th, 2011 | category: design, how-to, reuse
tags: design, diy, how-to, reuse, ryan & gub
comments: none
– life of a melon –
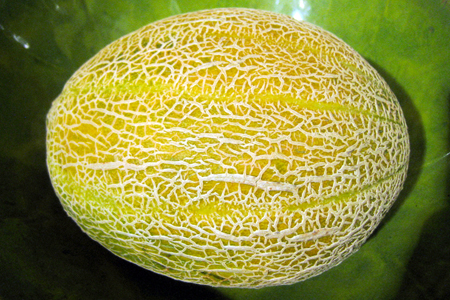
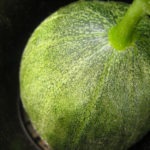
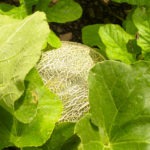
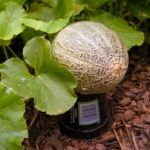
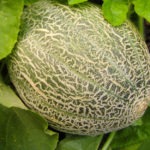
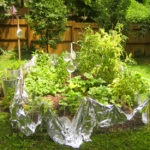
we picked our first ripe cantaloupe and it was amazing! as a tribute, we gathered photos to show the life of our melon.
fyi, we learned that you can tell if a cantaloupe is ripe by lightly thumping where the stem meets the navel of the melon. if the stem easily breaks off, it’s ready!
– ryan & gub
 |
| |
 |
date of post: July 23rd, 2010 | category: food, garden, house, how-to, summer, sweets
tags: diy, food, garden, house, how-to, photography, ryan & gub, summer, sweets
comments: 1
– fried green tomatoes –
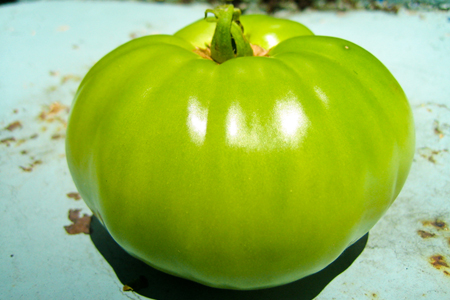
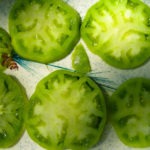
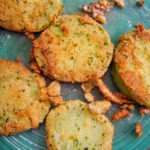
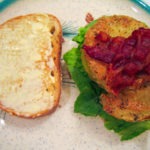
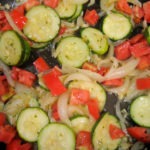
we made fried green tomato BLTs for dinner last night and they were delicious! we used a tomato from our garden and had sautéed zucchini as a side, which was also from our garden.
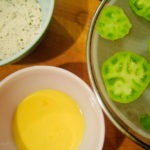
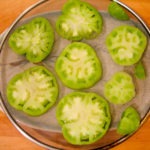
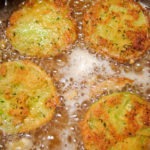
to prepare, slice a green tomato and place on a plate or splatter guard. sprinkle salt on top and let the slices sit for a couple of hours. this will cause the water to drain out of the tomatoes for a better frying experience. pour off any excess water as it builds. when ready to fry, just dip a slice in egg wash and batter before frying in oil at medium heat. we used corn meal in our batter, but feel free to use flour.
– ryan & gub
fried green tomato recipe:
ingredients:
1-2 large green tomatoes sliced
bread, mayonnaise, lettuce & bacon (if BLTs are desired)
egg wash:
2 eggs, beaten
1/3 cup milk
batter:
1/2 cup corn meal
1/2 tsp salt
1/2 tsp garlic powder
1/2 tsp onion powder
1 tsp parsley
directions:
– clean tomatoes and slice
– place on a splatter guard and sprinkle with salt, let sit for a couple of hours
– pour off any excess water as it builds
– heat oil in a frying pan at medium heat
– dip tomato slices in egg wash and then in the batter
– gently place battered tomatoes in frying pan and fry until golden brown
– place on splash guard to let cool and drain the oil
– serve on toasted bread with mayonnaise, lettuce and bacon or with a dipping sauce
 |
| |
 |
date of post: June 22nd, 2010 | category: bacon, cooking, food, garden, handmade, how-to, recipe, summer
tags: bacon, cooking, diy, food, garden, handmade, how-to, photography, recipe, ryan & gub, summer
comments: none
– hydrangea tips –
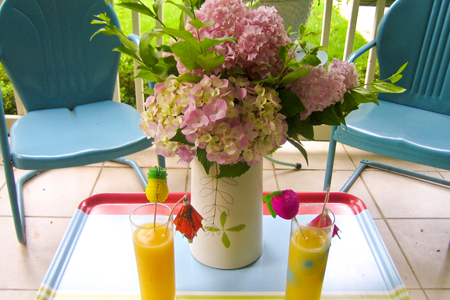
with our hydrangeas in full bloom, we’ve been keeping fresh flowers throughout the house. the problem is our cut flowers kept wilting after only a few hours, which was very frustrating. we decided to look for a remedy and take action.
here’s what we found worked best for keeping hydrangeas fresh after cutting them from a garden. first, cut the flowers in the early morning when the weather is cool, not in the afternoon heat. be sure to bring a pitcher or bucket of water and place the flowers in the water right after cutting. when ready to arrange, cut the stems at an angle under cold tap water and dip the flower tips into a bottle of alum powder, found in the spice section of most grocery stores. after dipping, place the flowers in a vase filled with water. that’s it.
we’ve used this method numerous times now and it totally works! it’s impressive how much longer our cut hydrangeas last.
– ryan & gub
 |
| |
 |
date of post: June 10th, 2010 | category: flowers & trees, house, how-to, spring
tags: diy, flowers & trees, house, how-to, photography, ryan & gub, spring
comments: none


